
Bathroom Renovation. What’s required?
Firstly when doing a Bathroom Renovation its critical to do them correctly as it is proven that the two biggest selling points of a home are Bathrooms and Kitchens.
Firstly all the bathroom fixtures and fittings need to be removed and water supply capped off. Once this is completed then remove all the wall linings ,window and door trims.
If the flooring is particle board this is the next thing to be removed taking the bathroom back to bare framing and bare floor joists as pictures below show.
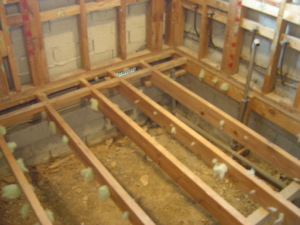
Bathroom floor stripped

Bathroom walls stripped.
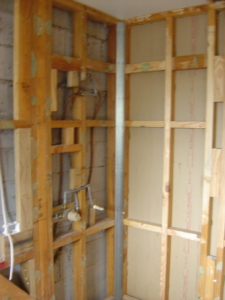
Next the Floor joists get solid nogs @ .400ctrs running in opposite direction of floor joist layout as shown in photos below. The reason for this is timber will still move by sucking in moisture from the air and causing timber to swell and in dryer hotter months will dry and contract. By glueing and screwing H3.2 tanilised plywood to both the floor joist and solid nogs you are forming a bracing diaphragm in the floor restricting movement to a minimum. The reason for this is once plywood and tile & slate underlay is fixed it then gets waterproofed. Less movement in the floor means less movement in the membrane which means less chance of membrane cracking , splitting and failing.
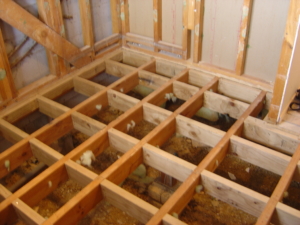
Bathroom Floor with solid nogs .
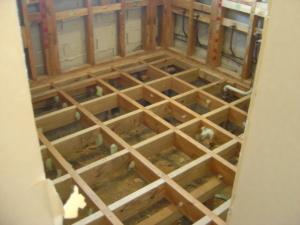
Bathroom floor nogs.
Next the tanilised plywood flooring is fixed to floor joists and tile and slate underlay is fixed to the plywood.
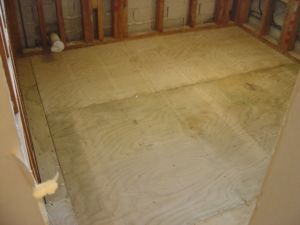
Tanilised plywood installed.
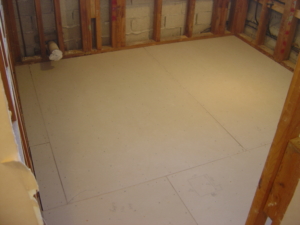
Tile & Slate underlay installed
Next step is for pre-line of walls. New Plumbing pipe out , mixers installed , floor wastes for shower installed (tiled Shower), plumbing for new fixtures and fittings in new or same locations depending on what the new layout of the Bathroom is to be. Also electrician installs new wiring for new electrical fittings required. Builder installs any nogs that are required for new fixtures and fittings. Examples are wall hung vanity, heated towel rail, toilet roll holder , wall cabinets etc. Now we are ready to line the walls and ceiling linings if they have also been removed.
Inside a tiled shower we recommend using Villaboard sheets and aqualine gibboard to the remaining walls and ceilings. Once this has been completed we get the gib stopper to come in and plaster as required.
Internal corner of shower enclosure galv flashing again to prevent movement at this junction.
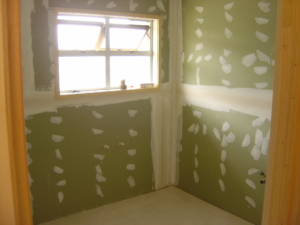
Aqualine gibboard fixed to walls and plastered.
Villaboard wall lining in shower enclosure.
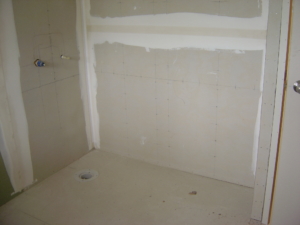
Next the shower base is formed using a hebel block and then screeding in required falls to shower waste position. Once this has been completed and cured waterproof membrane is applied to all of the floor, all of the shower enclosure walls , wall area around where a bath might be whether free standing or in a bath cradle framework, and .100ml upstand going up the wall to remaining areas.
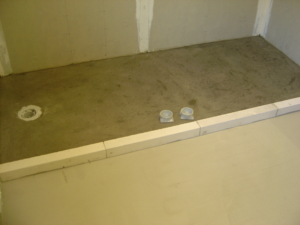
Shower base formed and screeded ready for waterproofing.
Waterproofing in shower enclosure.
Waterproofing on wall where freestanding bath will be positioned. Also floor waterproofed.
Floor with .100ml upstand waterproofed.
If walls and ceilings are to be painted this is a good stage to get this done prior to tiling and installation of fixtures and fittings. If walls and floors are to be tiled that becomes the next stage.
Once tiling is completed then it is time for the plumber and electrician to come in and fit off all fixtures and fittings.
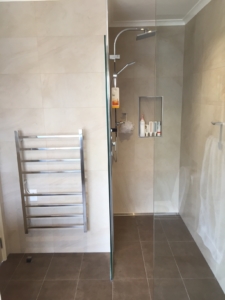
The next stage is for the frameless glass shower installers to fit off tracks, shower screens or doors, mirrors over vanity, glass corner shelves inside shower for shampoos etc. This is all fixed with a silicone glue so there are no screw fixings at all penetrating the waterproof membrane and extremely strong and durable. After this has been installed you will need to wait 2 to 3 days for the silicone to cure correctly and then your shower and bathroom is ready to use and enjoy.
Recess boxes can be formed within the shower enclosure for shampoos etc as well which is a very smart sophisticated look yet costs a little more. Also underfloor heating can be installed earlier in the process if this is a requirement and comes with a 5yr controller warranty and a lifetime of the floor warranty. Certain conditions apply.
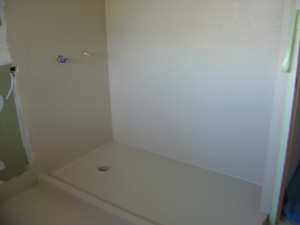
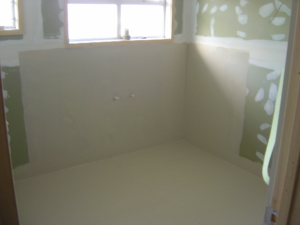
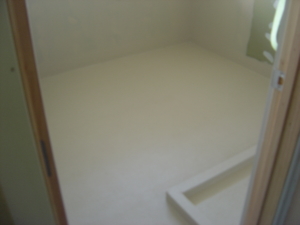
So there you have it and below the final outcome your completed bathroom.
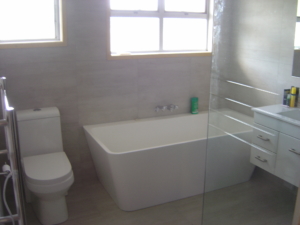
Completed Bathroom.
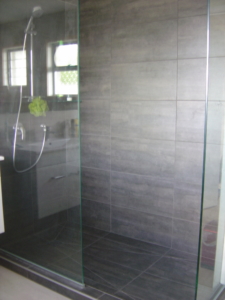
Shower Enclosure
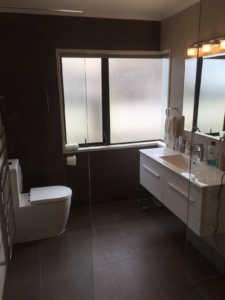
Completed Bathroom
Completed Bathroom Renovation
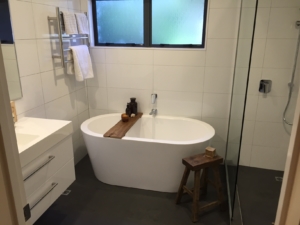
Completed Bathroom Renovation

Completed Bathroom
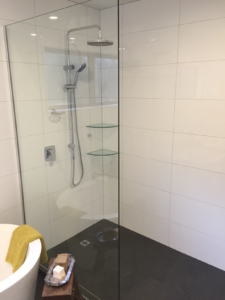
Shower Enclosure
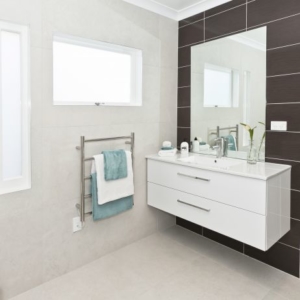
Completed Bathroom

Shower Cubicle
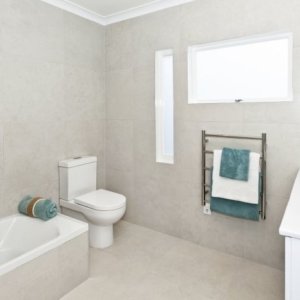
Completed Bathroom
At Nicol Renovations Ltd we specialise in Full bathroom Renovations as shown above and the steps explained is how we build them to a extremely high quality finish.
Other things that can be included are heat pads in behind mirrors so they never fog up, track light over mirror, extractor fans, underfloor heating, wall cabinets , floor wastes in bathroom floor so if there is flooding in the bathroom outside the shower, water can be disbursed minimising damage to floor areas outside the bathroom.
For your Bathroom Renovation look no further call Nicol Renovations Ltd for a quote.
www.nicolrenovationsltd.co.nz